EmailSupport_HR
Human Resource Email Support System
Human Resource Email Support System is my Internship Project at GECO Philippine Incorporation. This project intended to help HR to send multiple files in multiple and single email. Also it uses CRUD functionality to add, update, edit and delete data. It has features to archive all data and view history of the email status either send or fail.
Technologies Used
- HTML5, CSS3, PHP, Javascript, MySQL, JQuery, AJAX
- Bootstrap, Sweet Alert, Xampp, Composer tools, PHPMailer API’s
Main Page

Getting Started
This is an example of how you may give instructions on setting up your project locally. To get a local copy up and running follow these simple example steps.
Development
Before running a PHP script, you must know where to write it. In the XAMPP directory, there exists a folder called “htdocs”. This is where all the programs for the web pages will be stored. Now, to run a PHP script:
- Go to “C:\xampp\htdocs” and inside it, create a folder. Let’s call it “demo”. It’s considered good practice to create a new folder for every project you work on.
- Inside the demo folder, create a new text file and name it “index.php” and write the following script.
- Now, to see the script output, open the XAMPP control panel and start Apache to host the local webserver, where our script will be running.
- Now navigate to your browser and type in “localhost/demo/” in the address bar to view the output.
Guidelines to HR Email Support System
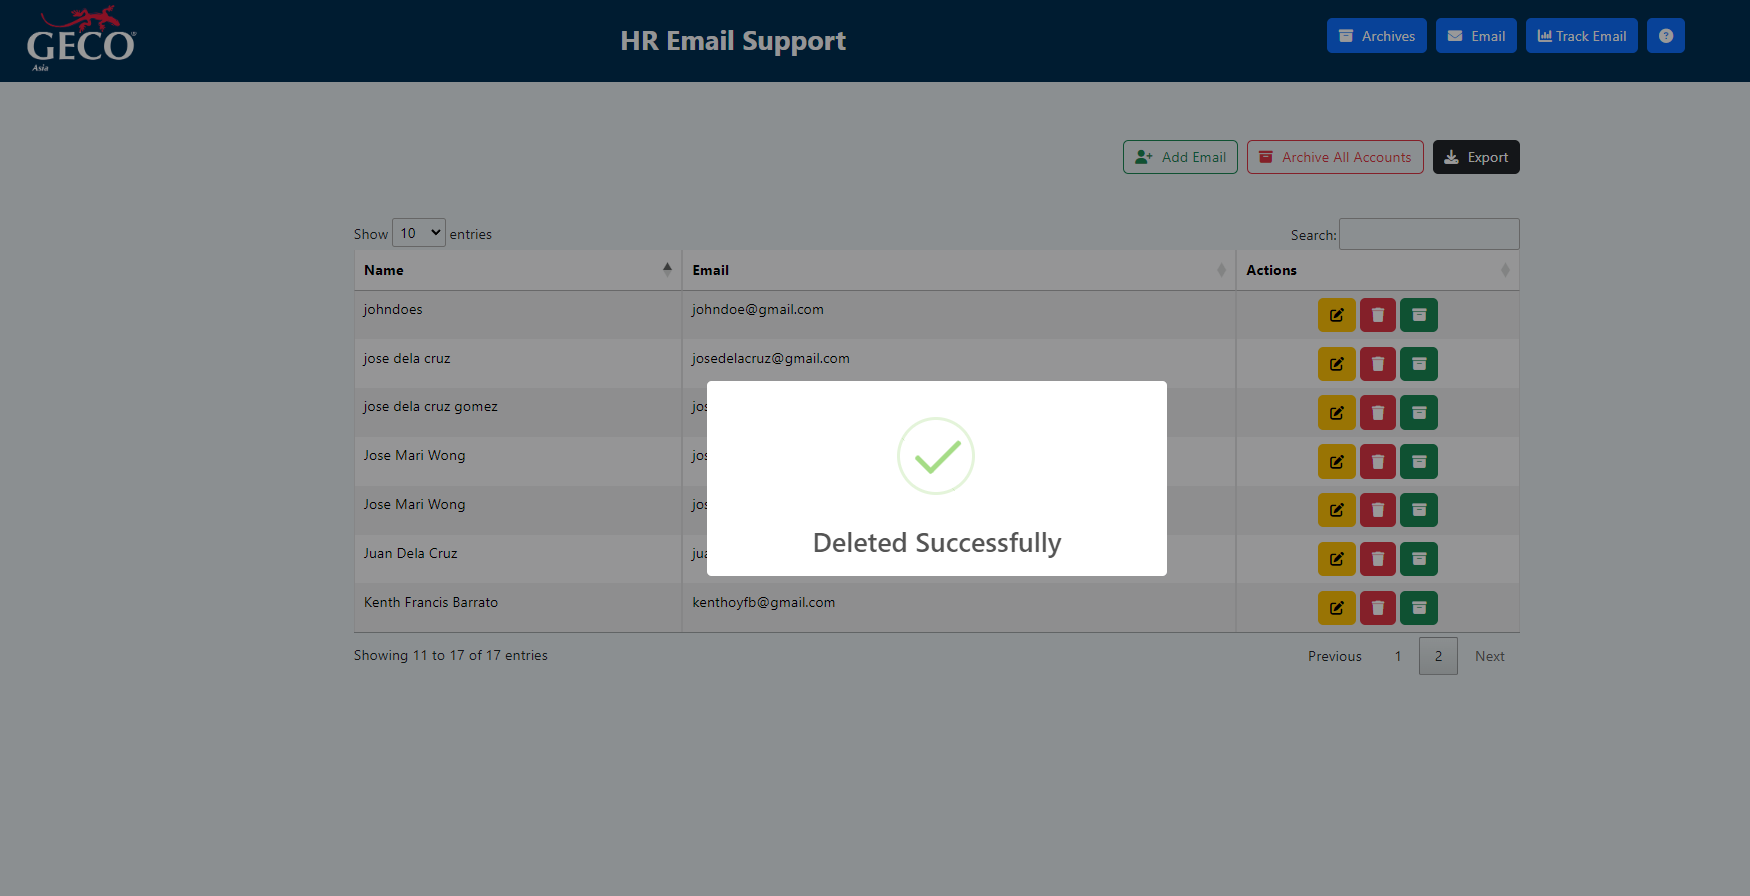
Geco Asia Logo - logo is used to link to the system’s home page.
Archive - is linked to the archive page where accounts of emails are stored if not in use.
Email Button - is a link to the archive page where employees accounts are kept when not in use.
Track Email Button - is linked to the track email page where the HR can check the status of emails that are sent to the recipient emails.
Question Mark - is a button to see the guidelines on what are the features of each functionality of the system.
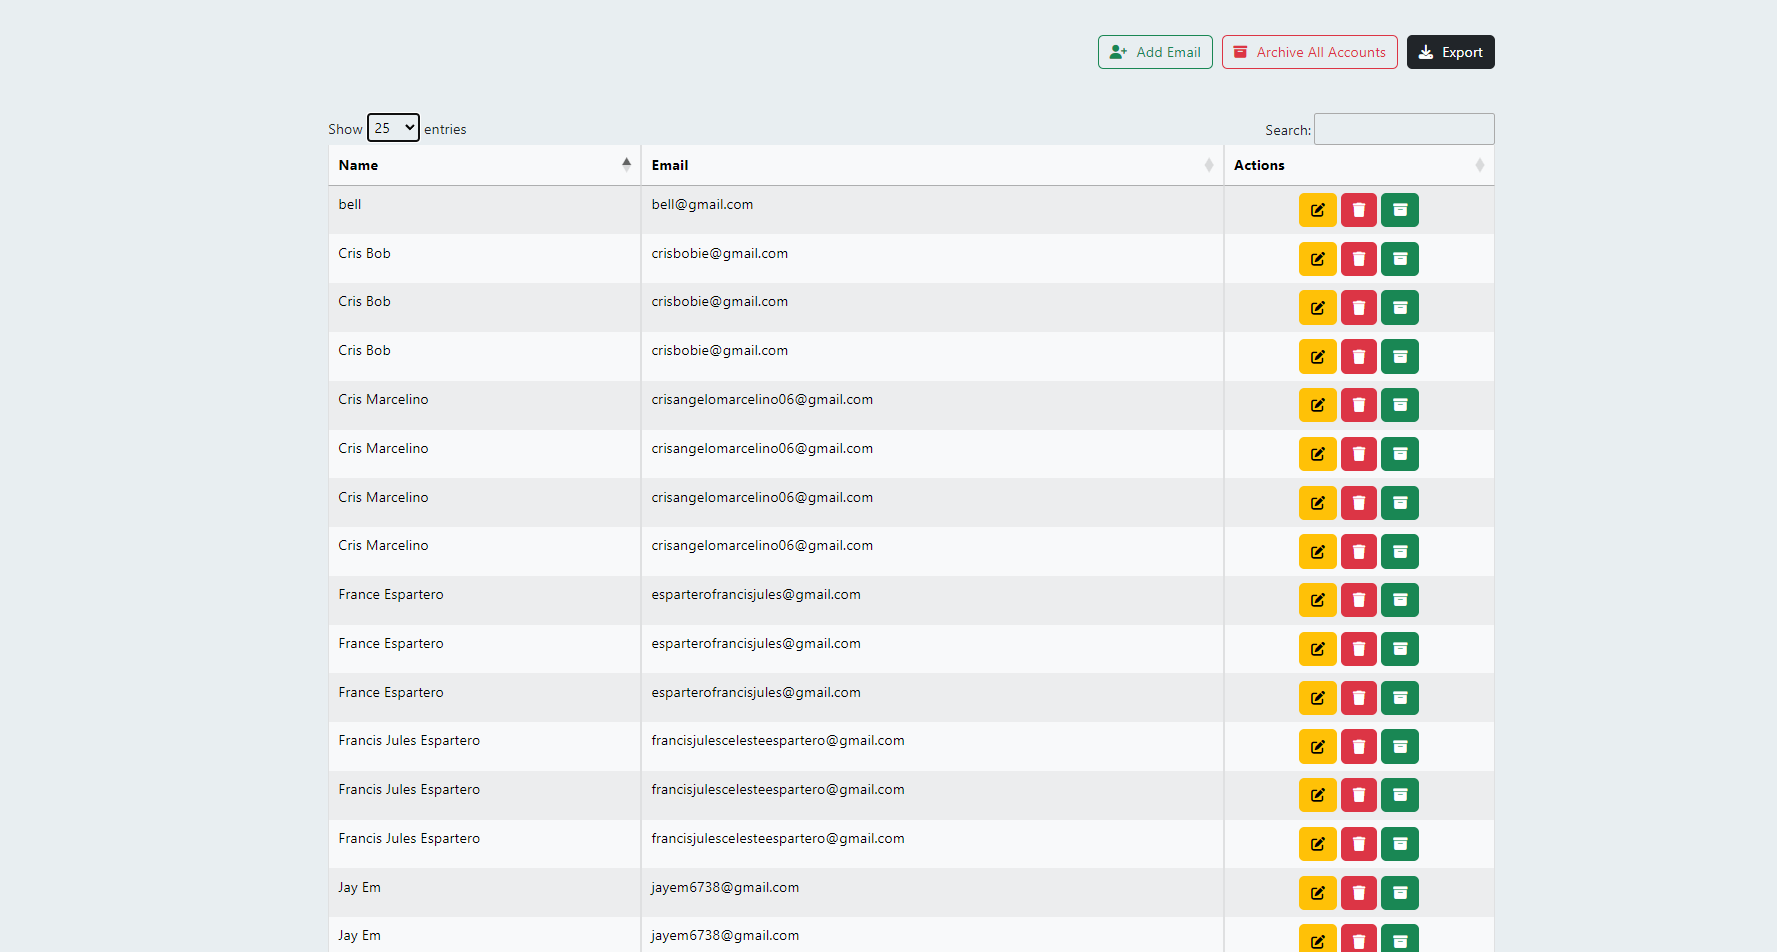
Add Email Button - is used to register email accounts to the system.
Archive All Accounts Button - is used to archive all of the accounts of emails that is registered and will be saved to archive database.
Export Button - button used to export account details of emails that are currently registered to the system to excel file.
Show Entries Dropdown - the dropdown will control the amount of accounts that is being shown to the tables.
Search Bar - is used to search a specific account of emails.
Edit Button - is used to edit the credentials of the emails account that is registered to the system.
Delete Button - is used to delete the specific account of an emails that is terminated or can’t be accessed by the companies.
Single Archive Button - the button will archive the specific account that is not being used by the emails and will be saved to the archive database.
How the System Works?
- Adding name and email to the system.

- Once it done, the system will display the user’s name and email address.

- Be sure that just one name and email will be used before adding them; if more are added, the system will provide a warning.


- The information will be stored in a database.

- You can also update the user’s name and email address, and the database will update the data automatically.


- You can also delete the user’s name and email address, and automatically delete the record in the database.

- The user’s name and email address can also be archived, after which the archived information will be preserved on the archives page, the data will be stored in the database, and the account can be retrieved.


- Also, you can archive all account, which will store it immediately to the archives page and allow you to retrieve it.


- Data from the system will also be exported as a csv file.


- You can see every record and retrieve it if you need to access the data again, as well as the date the data was stored, on the archive page, where the archive name and email address will also be saved.


- This is the email page where you can compose and send emails to both single and multiple recipients. You had to enter the sender’s name, email address, subject, file attachments, recipient emails, and message on the right-side panel. You can see the name, email address, and a select option to choose the receiver of your email in the left side panel. Following that, you can click the send email button and reset the information by clicking the reset form button.


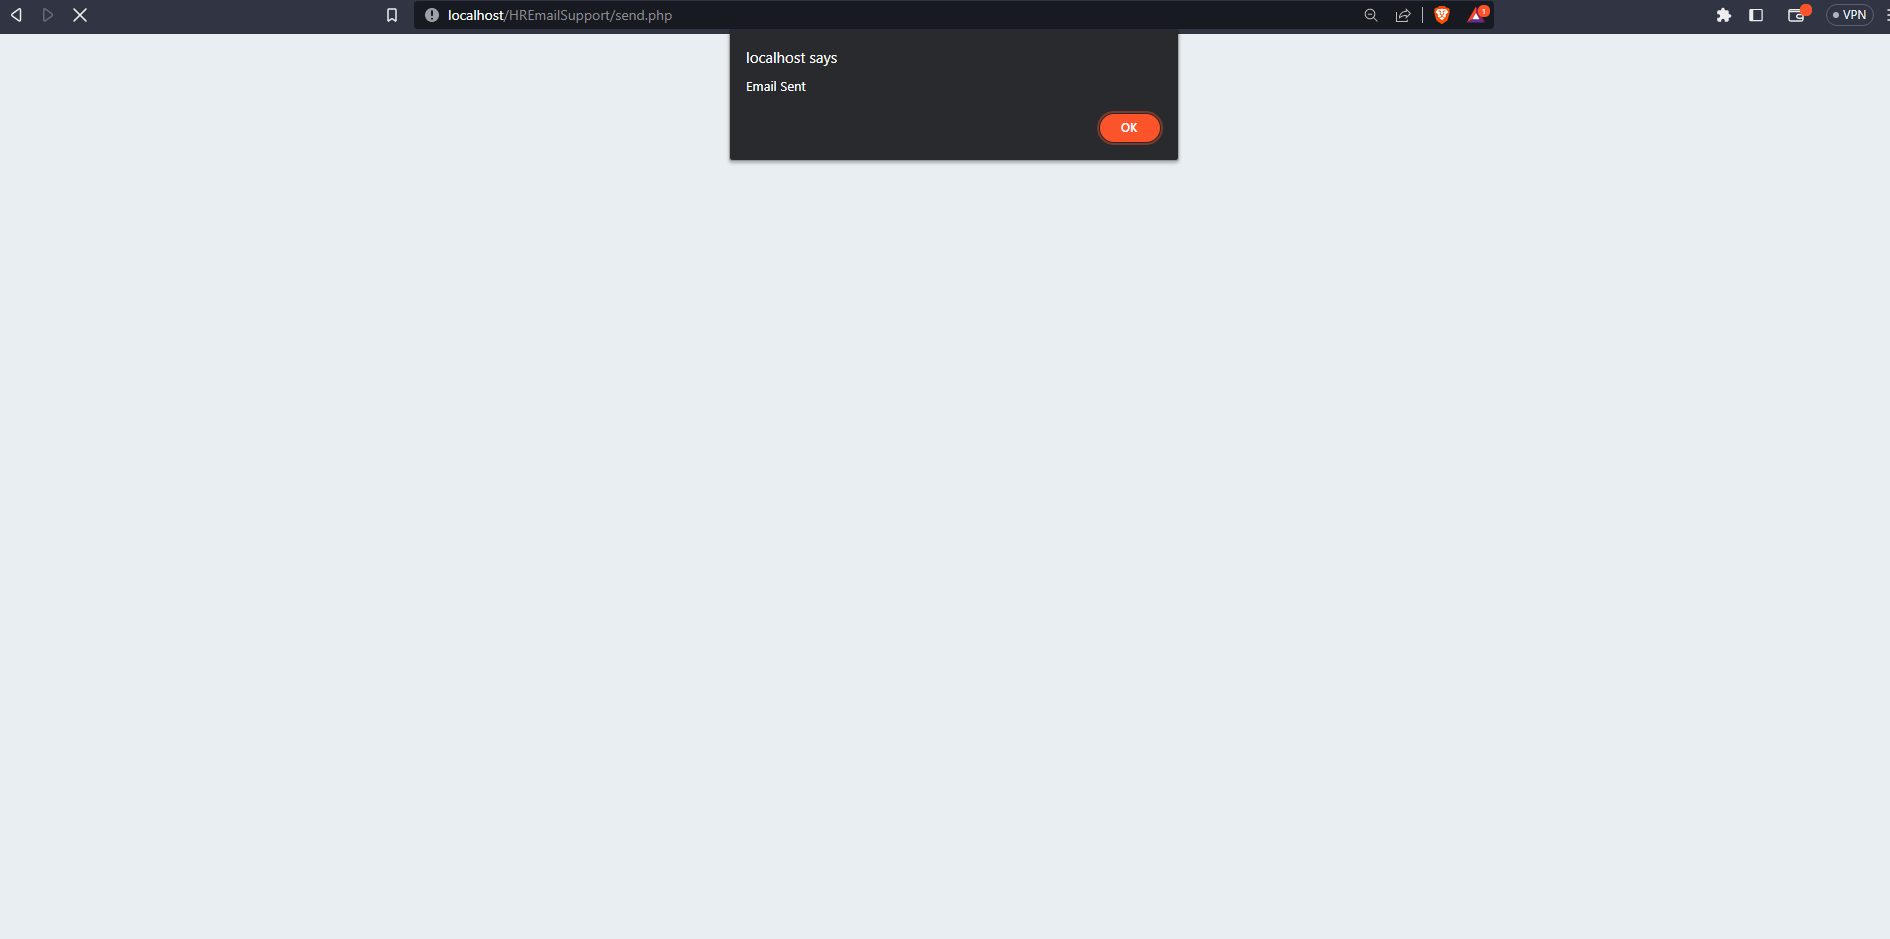

- The email will reach its recipient once it has been sent.


- The track email status page will show if the email was successfully sent or failed when the recipient receives it.

- You can view the Human Resource Email Support System guidelines in the about button.

- For other features, such as pagination, you can select the minimum and maximum number of records to display for each entry. If you’d want to view in a different panel, you can tap the number below as well.


- Other features include the ability to search by user name and email address in the search option.

